How To Prepare The Ground For Pavers
There are several steps you can follow to prepare the ground for pavers.
- Measure and mark: Before starting any work, it is important to measure and mark the area where you want to install the pavers. This will help you determine the amount of material needed and give you a clear idea of where each paver will go.
- Clear the area: Once you have marked the area, remove any existing vegetation, plants, or debris from the surface. This will ensure a flat and stable surface for your pavers to be installed on.
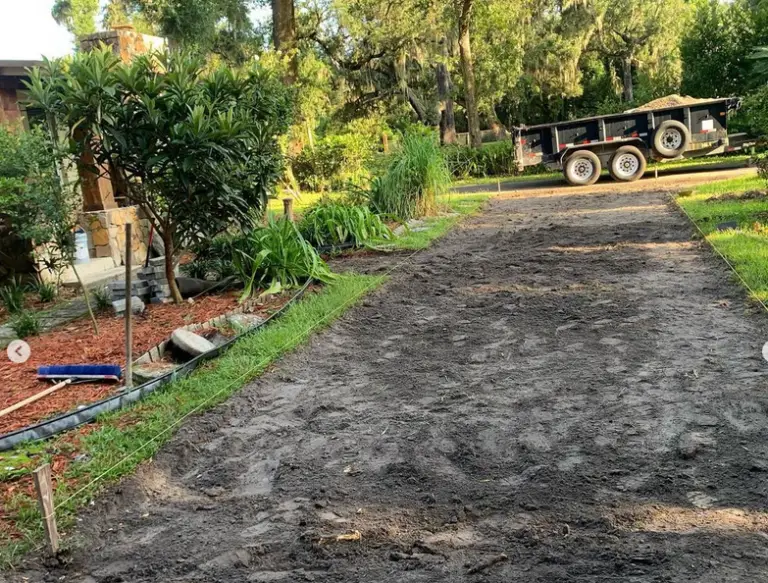
- Excavate the ground: Use a shovel or excavator to dig out the top layer of soil and create a uniform depth across the entire area. The depth may vary depending on the type of pavers you are using and your local climate, but a general rule of thumb is to have at least 6 inches of compacted base material for pedestrian use and 8-12 inches for driveways.
- Compact the soil: Use a compactor or hand tamper to compact the soil in the excavated area. This will create a stable and level surface for the pavers to be placed on.
- Add base material: Next, add a layer of base material such as crushed rock or gravel to the compacted area. This will provide a solid foundation for your pavers and help with drainage.
- Level and smooth: Use a rake and screed board to level out the base material and create a smooth surface. Make sure the base material is compacted and level to avoid any uneven areas in your finished project.
- Add edge restraints: Install edge restraints along the perimeter of the area to keep the pavers in place and prevent them from shifting over time.
- Lay down a layer of sand: Once the base material is in place, add a layer of sand on top and use a rake to spread it evenly. This will help fill in any gaps between the pavers and create a stable surface.
- Compact the sand: Use a compactor or hand tamper to compact the sand, making sure it is evenly distributed and level.
- Begin laying pavers: Finally, you can start laying your pavers on top of the compacted sand layer. Make sure to leave a small gap between each paver for jointing material.
- Fill in joints: Once all the pavers are in place, fill in the gaps between them with jointing sand or polymeric sand. This will help lock the pavers in place and create a finished look.
- Compact one last time: Use a compactor or hand tamper to compact the pavers and jointing material one last time. This will ensure everything is locked in place and prevent any shifting over time.
- Enjoy your new paver surface: With proper preparation, your paver project should now be complete and ready for use. Take some time to admire your hard work, and enjoy your new paver surface! Remember to regularly maintain and clean your pavers to keep them looking great for years to come.
Additional tips:
- Before starting any excavation work, make sure to call your local utility companies to mark any underground lines.
- When choosing base material, consider using a geotextile fabric as a weed barrier between the soil and the crushed rock or gravel.
- For a professional look, consider using a paver edging tool to create straight and clean edges around your paver surface.
- If you are installing pavers on a slope, make sure to add extra base material and use retaining wall blocks or edge restraints to prevent any shifting or erosion. Overall, proper preparation is key for a successful and long-lasting paver project. Take your time and follow these steps, and you will have a beautiful new paver surface to enjoy for years to come.